
Sintered Carbonation Stones are an excellent tool to add carbonation to beer in your brewery cellar tanks. CO2 is steadily absorbed into a liquid solution by diffusion which either happens by maintaining an elevated head pressure over time, or by injecting CO2 into a carbonation stone which dissipates the gas into millions of tiny bubbles that rise through the beer and are absorbed into solution.
Follow these tips to maintain your carbonation stone in top notch condition:
- Carefully insert/remove the carbonation stone into the tank to avoid nicking the stone
- Never store carbonation stones in sanitizer or leave them to soak in cleaning solution for extended periods
- Always rinse sediment, yeast or beer from the stone immediately after draining tank
- Flush carbonation stones the same direction as CO2 flow, “push” sediment from sintering
- Only CIP the same direction as CO2 flow and ONLY with perfectly clean solution
- Never store carbonation stones in buckets with other fittings, they will get nicked and damaged
- Don’t use scrub pads on the sintered portion of the stone
- Don’t touch the sintering with bare hands
-
 12″ Carbonation Stone Assembly$365.00
 -
 14.5″ Carb Stone Assembly$395.00
 -
 CO2/O2 Sanitary Check Valve$135.00
 -
Product on sale
 6″ Aeration & Carbonation Stone AssemblyOriginal price was: $350.00.$299.00Current price is: $299.00.
 -
 Carbonation Stone$235.00 – $265.00
Carbonation Stone Manufacturing:
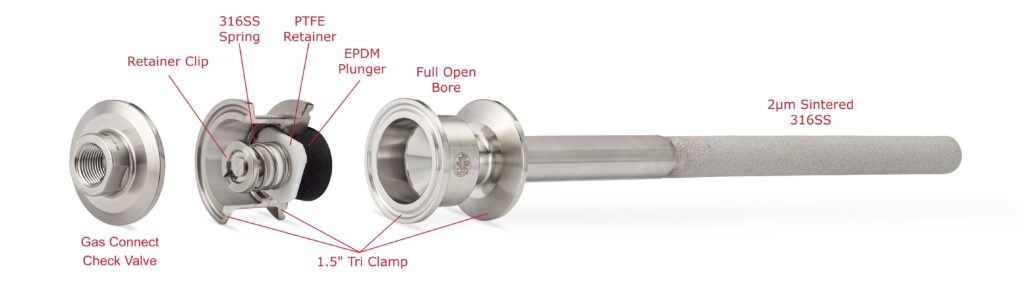
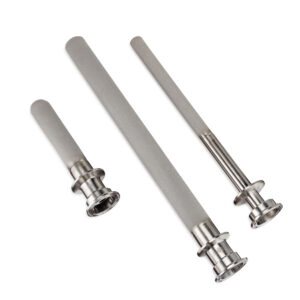
The manufacturing process that allows stainless steel to be porous for the gas to flow through is created by a metallurgy technique called sintering. This involves taking a charge of highly purified 316ss powder which is deposited into a die, then a compression ram forms the sintered portion of the stone with high pressure and high heat. The sintered end of the stone is then slowly cooled to temper and then passivated, utilizing nitric acid, to form a corrosive resistant surface layer of chromium oxide to the pores. The porous surface has millions of tiny pores which allows CO2 to diffuse into a cold beer in microscopic bubbles, which greatly increases the surface area for CO2 to absorb into solution in a pressure environment. These pores create a controlled flow typically 2µ for brewery applications, which provide a uniform column of injected dissolved CO2 that flows upwards through the beer and is absorbed into solution with the excess gas adding to the tanks head pressure.
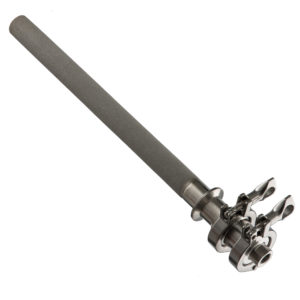
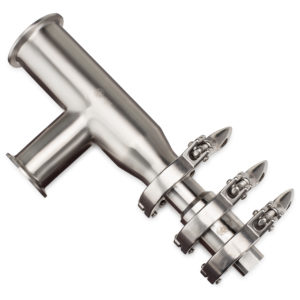
The end result is a sintered tube which is then TIG welded onto a ferrule, which makes up the carbonation stone. At Cellar Supply our carbonation stones have only tri clamp connections, there are no unsanitary threaded connections contacting beer or wort anywhere within the unit. Our Carbonation stone assemblies include a Cellar Supply gas check valves with the carbonation stone, which allows CO2 to enter the stone without beer flowing back into the CO2 line. This setup is commonly used with a gas quick connect (male) on each carbonation stone assembly and a another quick connect (female) on the CO2 line, so you can simply “plug” into the carbonation stone with the CO2 hose easily without any chance of beer seeping into the CO2 lines.
-
12″ Carbonation Stone Assembly$365.00
-
14.5″ Carb Stone Assembly$395.00
Carbonation Stone Products
-
12″ Carbonation Stone Assembly$365.00
-
14.5″ Carb Stone Assembly$395.00
-
CO2/O2 Sanitary Check Valve$135.00
-
Product on sale6″ Aeration & Carbonation Stone AssemblyOriginal price was: $350.00.$299.00Current price is: $299.00.
-
Carbonation Stone$235.00 – $265.00
-
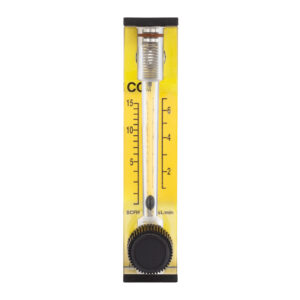 CO2 Rotameter$165.00